

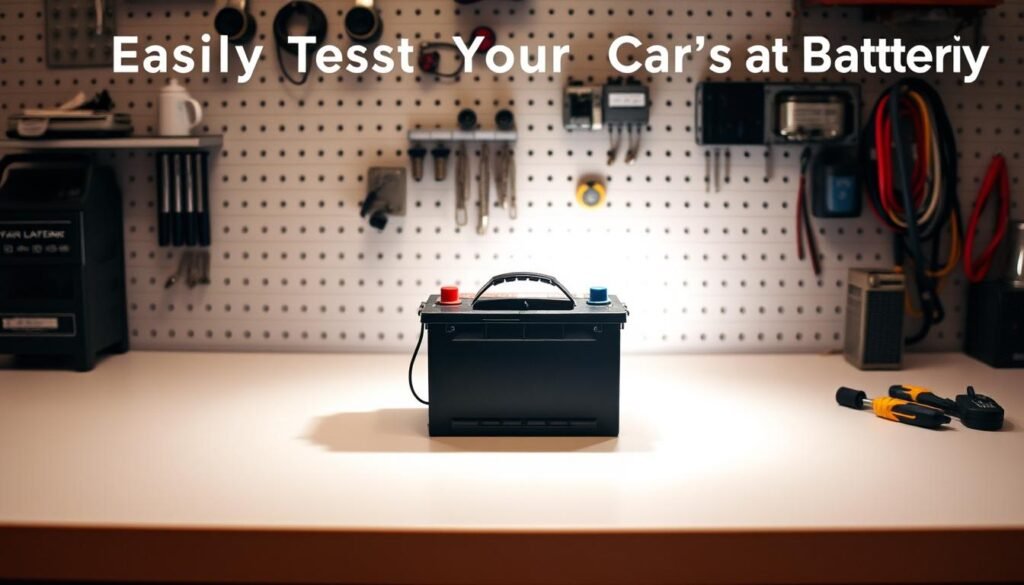
We want quick confidence when a vehicle won’t start. In a few calm minutes, we can check the charge and spot common causes like age, corrosion, or a failing alternator.
- Before We Begin: What battery issues look like and when we should test
- Safety first and what we’ll need to test a car battery at home
- How to test car battery at home with a multimeter
- Easy ways to test without equipment
- Understanding your readings and next steps
- Conclusion
- FAQ
- What signs mean we should check the battery now?
- What protective gear and precautions should we use during checks?
- Which tools give the most reliable readings?
- How do we set the multimeter for a proper voltage reading?
- What does a resting voltage of 12.6 volts indicate?
- What if the resting reading is around 12.2 volts?
- What does a reading below 12 volts tell us?
- Can we check the charging system while the engine runs?
- How can we test battery capability without a meter?
- What does terminal corrosion mean and how should we handle it?
- How do we tell parasitic drain from a bad battery?
- When is a jump-start enough versus a full replacement?
- How long should we wait after charging before taking a resting voltage reading?
- What voltage range indicates a good alternator output?
- Are there any quick safety warnings we should never ignore?
Simple tools and a clear plan are all we need. With a multimeter set to 20V DC, probing the positive and negative posts usually shows a resting reading near 12.6 volts. That number gives us a solid baseline for next steps.
We will walk through a short list of actions: spot symptoms, set up safely, take a quick meter reading or use easy no-tool checks, and then interpret what we find. Small habits, like checking terminal corrosion and confirming clamp order for a jump, save time and money.
Key Takeaways
- Most healthy batteries read about 12.6 volts at rest.
- Use a multimeter on 20V DC for a quick, reliable reading.
- Common failures include age, sulfation, corrosion, and charging faults.
- Simple checks and correct jump-start clamps can revive a drained unit.
- Knowing the battery’s location and terminal markings speeds the process.
Before We Begin: What battery issues look like and when we should test
We start by noting the symptoms—these small clues often show whether the unit or the charging system is at fault.
Common signs of a weak or dead unit
Slow or lazy cranking is a clear sign. If the engine turns over slowly or you hear rapid clicking, the cell pack may lack charge.
Dim or flickering interior lights during startup often show voltage loss. Repeated no-starts after short trips is another red flag.
“A dashboard battery warning light may mean the alternator or wiring, not just the battery.”
Age, user error, or corrosion as the real problem
User mistakes—like leaving dome lights on—drain power fast, especially on short drives that never let the alternator replenish energy.
Most batteries lose capacity from sulfation after about three to five years. Visible white, ashy corrosion at posts can block flow even when the pack still holds charge.
When should we check? Any new electrical change, after a long vehicle sit, or near the 3–5 year mark deserves prompt testing.
Safety first and what we’ll need to test a car battery at home
We start by making the work area safe and gathering the few items that make quick checks reliable. Take a few minutes and remove jewelry, lay out tools, and don eye protection and gloves.
Safety checklist
- Wear eye protection and gloves. Keep loose metal away and never bridge the battery terminals with tools.
- Avoid resting tools on the case and work in a stable, well-lit spot.
- If you must disconnect cables, remove the negative terminal first, then the positive to reduce sparking.
Tools and simple supplies
We keep a multimeter set for DC, a wrench for clamp bolts, and a wire brush. A baking soda and water solution helps neutralize light corrosion safely.
Access and quick notes
Many modern vehicles hide the pack under covers or a seat. Snap off plastic shields and the red cover over the positive terminal before proceeding.
How to test car battery at home with a multimeter
With the right meter settings, we gather a reliable snapshot of resting and running voltage.
Set the meter and take a resting reading
Set the multimeter to DC voltage on the 20V range. This avoids over-ranging and gives cleaner readings.
Let the car sit for several hours or overnight. Recent driving hides the true state of charge.

Probe the terminals safely
Place the red probe on the positive terminal and the black probe on the negative terminal. A negative sign means the probes are reversed; swap them if needed.
Avoid touching metal across posts and keep tools clear of moving parts while the engine is running.
Engine running check and interpretation
Start the engine and recheck at the battery. A healthy charging system reads about 13.8–14.4 volts at idle. Below that may point to an alternator or belt issue. Above it suggests overcharging.
“A steady resting reading near 12.6 volts shows a healthy charge; near 12.2 volts is roughly half, and below 12 volts is discharged.”
| Condition | Resting volts | Engine running volts |
|---|---|---|
| Fully charged | ~12.6 volts | 13.8–14.4 volts |
| Half charge | ~12.2 volts | 13.0–13.8 volts |
| Discharged |
- Clean and tighten terminals before taking a reading.
- Record the reading with date and time for future comparison.
Easy ways to test without equipment
We can run a few quick, no-tools checks that give a clear go/no-go on power. These take little time and help us decide if a meter or a shop visit is next.
Headlight load check
Turn the headlights on for about 10–15 minutes with the engine off. Watch the brightness and note the amount of dimming when you attempt a start.
If the lights dip sharply at the moment of a start, the pack may be struggling under load. This simple load check uses headlights as a practical indicator of available current.
The click clue at start
Listen during a car start. A single click or rapid clicking often means the relay engages but there is not enough power to crank the engine.
This sound is one of the fastest signs that we may be facing a dead battery or a poor connection rather than a failed starter.
Corrosion inspection and quick clean
Pop the hood and look for white, ashy corrosion on posts and clamps. Even light buildup raises resistance and lowers available power.
We gently clean with a baking soda mix and a wire brush, then repeat the headlight check after reconnecting. If starting and light brightness improve, corrosion was likely the main issue.
| Check | What we watch for | What it likely means |
|---|---|---|
| Headlight load (10–15 minutes) | Sharp dim at start | Battery struggling under load or low charge |
| Clicking during car start | Single click or rapid clicks | Insufficient current or poor terminal contact |
| Corrosion inspection | White, ashy buildup on posts | Increased resistance; cleaning often restores power flow |
- Keep a note of the minutes used during the headlight check for repeatable comparison.
- If these ways show a problem, we move on with a multimeter or professional check.
Understanding your readings and next steps
With our meter readings recorded, we now sort results into clear options. The numbers guide whether we try a quick restart, recharge the unit, dig into the charging system, or plan for replacement.
Interpreting voltage: charged, discharged, or failing
Resting readings near 12.6 volts mean the pack is charged. Around 12.2 volts is about half charge. Below 12 volts is discharged and likely to fail a start.
Charging system check: alternator output and warning clues
With the engine running, healthy charging sits at about 13.8–14.4 volts. Lower values suggest an alternator or belt issue. A dashboard warning while driving is a prompt to inspect the alternator and related wiring.
Parasitic loss versus a bad pack
If a unit reads low, we fully charge it off the vehicle and let it rest. If it holds charge off-car but drops when reconnected, suspect a parasitic draw from a vehicle system.
When to jump-start, recharge, or replace
- Jump-start for an urgent drive when voltage is low but the pack is otherwise serviceable.
- Slow charge and retest if age is young and the pack holds charge off-vehicle.
- Choose replacement when age, repeated no-starts, or poor state-of-health persist.
“A clear reading gives us the means to restore power, fix the charging system, or pick a reliable new unit.”
Conclusion
,Let’s close with a simple checklist that keeps us ready and avoids roadside surprises.
We rest the vehicle, set a multimeter to 20V DC, and gently probe the positive terminal and the negative terminal. A healthy car battery reads about 12.6 volts; ~12.2 volts is half, and below 12 volts is discharged.
Start the engine and expect ~13.8–14.4 volts for proper charging. Keep posts clean and tight, note headlight dimming or clicking at start, and log readings with date and time.
If a pack holds charge off the vehicle but drops when fitted, suspect a parasitic draw. When voltage or lights aren’t right, we either recharge, fix the charging system, or replace the unit before it leaves us stranded.
FAQ
What signs mean we should check the battery now?
Dim headlights, a slow crank, clicking when we turn the key, or warning lights on the dash are clear prompts. Corrosion on terminals, a swollen case, or a battery older than three to five years also means we should inspect and measure voltage promptly.
What protective gear and precautions should we use during checks?
We always wear eye protection and gloves, keep metal tools away from both terminals at once, and work in a well-ventilated area. Disconnect negative first when removing cables and avoid smoking or sparks near the battery.
Which tools give the most reliable readings?
A digital multimeter set to DC volts is the best quick tool. We may also use a wrench for terminals, a wire brush to clean corrosion, and a baking soda solution to neutralize acid residue before reattaching connections.
How do we set the multimeter for a proper voltage reading?
Set the meter to DC voltage and a range above 15 volts if available. Attach the red probe to the positive terminal and the black to the negative terminal, ensuring solid contact for a steady reading.
What does a resting voltage of 12.6 volts indicate?
A 12.6 volts resting reading means the battery is fully charged and healthy enough for normal use. We should still inspect age and terminal condition, but electrically it’s sound.
What if the resting reading is around 12.2 volts?
Around 12.2 volts shows the battery is partially discharged and may need a recharge. We can top it up with a charger and retest; repeated low readings suggest reduced capacity or internal cell issues.
What does a reading below 12 volts tell us?
Below 12 volts usually means a discharged or failing battery. We should try a controlled recharge and load test; if the voltage falls quickly under load, replacement is likely the safest option.
Can we check the charging system while the engine runs?
Yes. With the engine running, voltage at the terminals should rise to about 13.7–14.7 volts if the alternator charges correctly. A lower reading suggests an alternator or regulator problem; a much higher reading indicates overcharging and a possible regulator fault.
How can we test battery capability without a meter?
A simple headlight test works: with the engine off, turn headlights on high. If lights dim noticeably when starting, the battery likely lacks reserve. The “click” sound during cranking also points to low battery power versus starter issues.
What does terminal corrosion mean and how should we handle it?
White or green crust around terminals reduces conductivity and charging efficiency. We clean terminals with a wire brush and a baking soda solution, rinse, dry, and retighten connections. Severe corrosion may require terminal replacement.
How do we tell parasitic drain from a bad battery?
We measure resting voltage after sitting and perform a parasitic draw test with an ammeter in series. If the battery is good but drains overnight, an electrical component is likely drawing current; if the battery won’t hold charge, the cell capacity has declined.
When is a jump-start enough versus a full replacement?
A jump-start is a temporary fix for a discharged battery. If the battery holds a charge after driving and tests at healthy voltage, we’re fine. If it repeatedly dies, fails load checks, or shows low resting voltage after charging, replacement is necessary.
How long should we wait after charging before taking a resting voltage reading?
We let the battery sit for at least 30 minutes after charging or driving so surface charge dissipates. For the most accurate reading, a few hours or an overnight rest gives a truer state-of-charge measurement.
What voltage range indicates a good alternator output?
With the engine idling, a healthy charging system typically reads between 13.7 and 14.7 volts at the terminals. Readings outside that range suggest we check the alternator, belt tension, or voltage regulator.
Are there any quick safety warnings we should never ignore?
Never cross tools between terminals, avoid sparks near the battery, and never lean directly over the battery when testing. If we smell rotten eggs or see severe swelling, we stop and replace the unit—those are signs of dangerous failure.


